


XenClient New Release 5.0 - Tips to Make Installation Painless

I recently setup XenClient for a client of mine using the latest version of the engine (XenClient agent) and Synchronizer 5.0. This has come a long way from the initial release of XenClient 1.0 which I believe was released at Synergy circa 2009.
A little history of XenClient
As stated above, I thought this was pretty cool, a type 1 hypervisor running natively on a laptop. VMWare has a product called VMWare workstation that runs on top of an OS. You then load your OS flavor in order to run your playground environment so to speak. So in the case of VMWare, this would be a type 2 hypervisor. In other words, you have a scenario like this Boot OS -> VMWare Workstation -> Sandboxed OS Playground.
With XenClient, you have the scenario of Boot OS (Xenclient) -> Sandboxed OS Playground thus eliminating one piece of the puzzle which would make it more efficient.
XenClient 1.0 seemed to be the next evolutionary step that Citrix was taking to expand their product base and I thought it was a smart idea. However, I soon learned that there were many limitations that would make it difficult to deploy in a production environment. One limitation was that the maximum amount of memory you could assign a VM was 3 GB. This was fine for windows XP and probably most 32 bit environments but if you wanted to run 64 bit it could be done but for a power user this would be a limiting factor.
XenClient 2.1 had several fixes but was still limited to 3 GB of memory and only supported around 30-40 laptops. Out of those, some percentage did work correctly while others had a lot of problems with peripherals etc so XenClient could not be used on those.
XenClient 4.X came out during Synergy 2012 and I thought I would look at it again in one of the lab sessions. When I walked in the title was “Virtual Computer NxTop training”. I thought I had the wrong class but in fact found out that Citrix had just purchased that company and was going to mold that into XenClient. I was quite impressed by it and thought that it now has a chance of being a serious contender for production laptops.
Where we are at today
XenClient 5.X just came out Oct 23, 2013 and this is the version that I was able to install at the client site. Here are the highlights of the xenclient and synchronizer:
- Personal vDisk (PvD) Technology
- Improved display support for Windows 8 shared VMs
- Improved wireless roaming
- Support for new hardware platforms (those with 4th Generation Intel® Core™ Processors) - (This release has been qualified on a small number of pre-production 4th Generation Intel® Core™ Processor-based platforms. Please work with Citrix support to qualify new hardware with XenClient Enterprise 5.0. Refer to the XenClient Specifications and Compatibility site for more information.)
- Support for USB2 devices in USB3 controllers
- Improvements and updates to Synchronizer, including:
- support for the latest Tomcat and 64-bit JVM releases
- support for SQL 2013
- an improved UI with greater Browser support (Chrome, Firefox and Safari)
- simplified UI elements to support localization
- support for Windows Server 2012 (this support does not extend to the Engine as a VM
- operating system)
- improved online Help interface
As you can imagine I was anxious to try it out. The install is relatively painless and went pretty smoothly. You can install it to use the whole drive or you can even dual boot it with your favorite OS. Two items to watch out for are 1) If you don’t enable virtualization prior to installing in dual boot mode then the install will not finish correctly and give you an error saying that and end. If you then try to install again with the correct setting you will see two Windows 7 selections (In my case) on the dual boot menu, a slight bug here. 2) If you do not pre-partition the size you want for the xenclient engine then it will create one for you and leave your current partition with only 50GB free so be forewarned here. You can create the partition with various freeware utilities and windows has a utility built in as well
Once installed it will be pretty much useless until you get the synchronizer up and running. Unlike the previous version of xenclient you really need the synchronizer otherwise you just have half of the solution. The one complaint that I see in the forums is that you have to have Hyper-V installed in order to start, publish or shutdown the vm. The synchronizer does not have to be installed on the Hyper-V and can be on a separate vm but you have to have the Hyper-V component in your environment and that requires a physical server. This is somewhat a barrier to those who want to virtualize their entire environment.
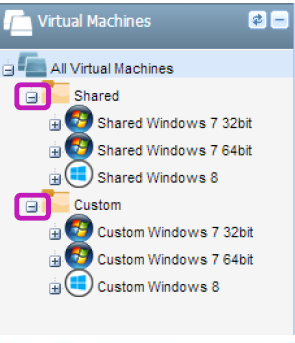
Once you install the synchronizer it is a straight forward process of synchronizing the engine to the synchronizer. First off, you will have to set up users. There are two types, local and Active Directory users. You will also have to setup an image in which to use on the engine. You can put an ISO file in the file imports section of the synchronizer and use that to create an image. After the image is created to your liking you can then “publish” it. You can see from the below example that there are several machines that have been imported.
The next step is to tie the vm to the user so that when the user logs on with the engine it will know what vm to use. There is a procedure to pre-load the vm onto the engine, this will save quite a bit of time downloading the full image found here:
http://support.citrix.com/article/CTX138709.
You register the engine by selecting the people icon shown below.

You will then see the registration wizard in which to register the laptop in order to download the vm assigned to that user.
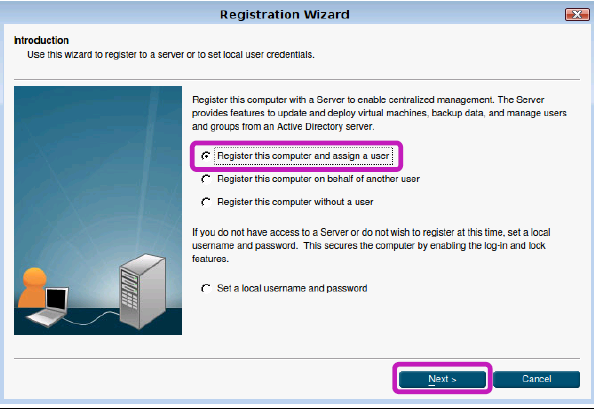
The pitfall here is that only one user can be assigned to the engine. This will not work if the laptop is shared or in a lab setting.
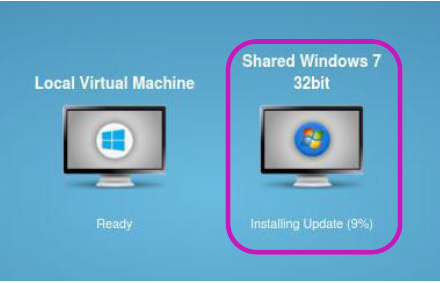
After you assign a user you can go to the activity center and see that the vm will start to download for that user.

After the download is finished you will see the vms that were downloaded on the main screen.
A new message will alert you that the vm is now available
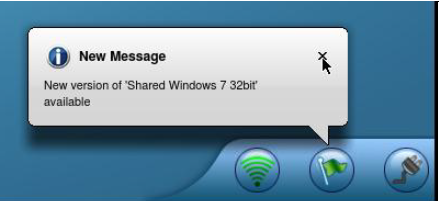
You can then start the vm as shown below.

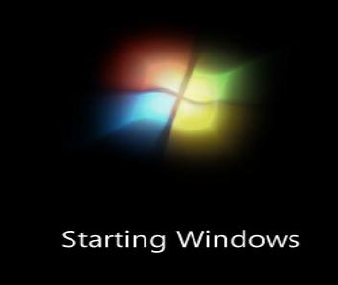
When the vm is first started, there are some changes that need to be processed. You will then see the starting windows screen.
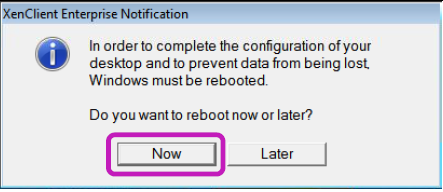
You will then see the message below. What has happened is that the paravirtual drivers have been installed in the background and need a reboot to finish.
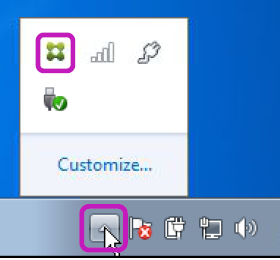
After the vm has rebooted you can now go to the system tray and click on the XenClient Icon.
This is the screen you will see once the icon is opened.

Unfortunately what I have found is that in trying to lock down the vm I wanted only the wireless and charging symbol to show up and not the XenClient Control panel for the user but in the policies in synchronizer it is either an all or nothing endeavor.
Final Thoughts
This is a project that I am still working on and continue to give a good workout so I will update this review as I put it through its paces. So far it is off to a great start and I really like what I see over the old version of xenclient.
Improvements I would like to see
I would like to see some items improved on this and it would really make this a serious contender in the corporate environment. They are:
- Allow multiple users per laptop
- Allow a user access to log into multiple laptops
- Improve policies so that you can hide control panel items but still allow the wireless icons and the charging indicator. This is so that users when roaming could change wireless settings without having access to all other non-essential control panel settings.
- Find a way to get rid of Hyper-V or be able to replace it with another hypervisor so that all can be virtualized.
- The documentation is very sparse and does not go into any explanations on how certain functions or areas work.
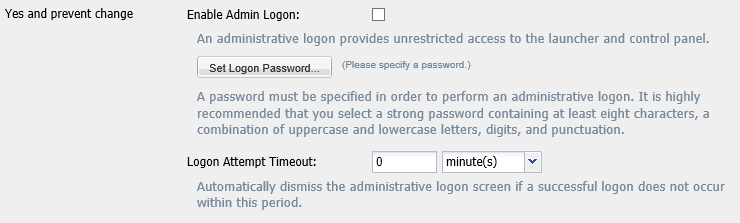
- If anyone can figure out how the below works with admin logon I would love to know. Reason being is that I would love to be able to login and do control panel settings etc. while a user cannot do those things but I have yet to figure out how this works. There is no documentation when enabled on how or who to log in as.
Leave Comment